


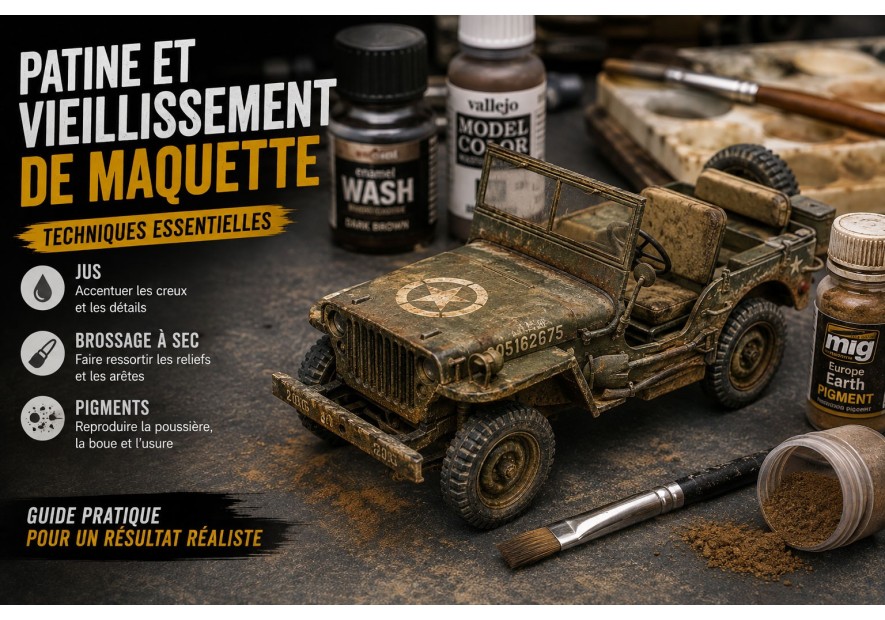

Scale Model Weathering Guide: Washes, Drybrushing, Chipping and Pigments
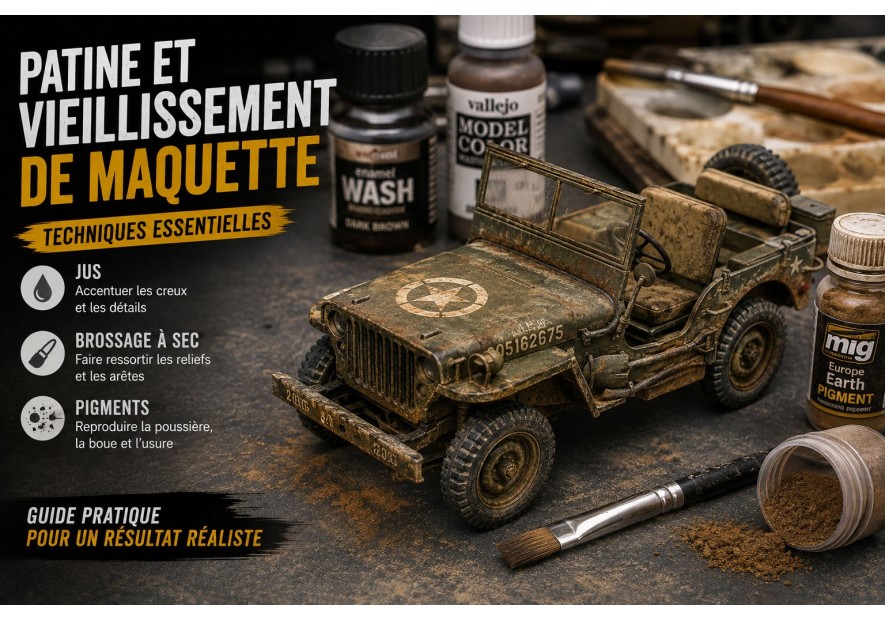
Assembling and painting a static scale model kit with clean, crisp base colors is a great milestone, but the end result often looks like a factory-fresh toy. In the real world, a main battle tank driving across muddy terrain, a fighter jet blasted by engine exhaust and harsh weather, or a civilian vehicle racked with mileage all carry the distinct visual storytelling of operational service.
Weathering and patina encompass the artistic techniques that bring this realistic depth to life: accentuating recessed panel lines, highlighting raised edges, and simulating accumulated dust, mud, grease, and chipping paint. Follow our comprehensive guide to master the four core pillars of scale model weathering: washes, drybrushing, chipping/streaking, and pigments.
1. The Mandatory Preliminary Step: Protective Clear Coat
Before applying any weathering medium to your freshly painted model, one golden rule always applies: seal your base coat with a protective varnish.
- Why varnish? Most weathering washes and filter effects are enamel- or oil-based. Their mineral spirit solvent could attack unprotected acrylic paint or lift water-slide decals.
- Which clear coat to choose? Always spray a thin, smooth coat of gloss or satin clear coat from our range of thinners, varnishes, and sealants. A glossy surface allows washes to glide effortlessly by capillary action along engraved panel lines without staining flat surfaces.
If you are just getting started with airbrushing and painting, read our tutorials on how to prepare a scale model before painting (sanding and primer), how to paint scale models with a realistic finish, and our comparison guide on choosing the best glues for scale models (styrene, resin, metal).
2. Washes and Pin-Washes: Adding Shadow and Depth
A wash is a highly thinned, heavily pigmented fluid designed to flow into panel lines, recesses, rivet heads, and cooling louvers to simulate natural depth and shadow.
The Pin-Wash Technique (Targeted Infiltration)
- Lightly moisten the target area with odorless thinner to break surface tension.
- Dip the tip of a fine precision paintbrush from our airbrushes and paintbrushes range into your wash, such as MIG AMMO Enamel Washes or MIG AMMO Panel Line Wash.
- Gently touch the tip of the brush to an engraved panel line: capillary action pulls the wash smoothly along the entire seam.
- Allow 15 to 20 minutes to dry.
- Dampen a cotton bud or flat brush with clean thinner and gently blend away any excess along the direction of airflow or gravity.
3. Drybrushing: Highlighting Raised Edges and Form
Drybrushing is the exact opposite of a wash: it catches raised structural details (hatch rims, bolts, steps, cockpit dials) to emphasize three-dimensional volumes.
How to Drybrush Cleanly Without Chalkiness
- Select a shade of MIG AMMO acrylic paint slightly lighter than your base tone (or a metallic steel/silver tone to simulate worn bare metal).
- Dip just the tips of a flat, soft-bristled brush into the paint.
- Wipe almost all the paint off onto a paper towel until the brush leaves only a faint, dry dust trace.
- Gently and briskly flick the brush across raised edges: only the highest points catch the pigment, creating instant contrast.
4. Chipping and Streaking Grime
Sponge Chipping Technique
On military vehicles and warbirds, paint chips away around frequently walked surfaces and hatch openings:
- Tear off a small corner of high-density packing foam or sponge.
- Dip it lightly into dark brownish-grey paint (representing oxidized base metal).
- Dab off the excess onto cardboard.
- Lightly stipple around edges and high-wear zones for micro-chipping realism.
Rain Marks and Rust Streaking
Using specialized MIG AMMO Streaking effects, place tiny dots of product beneath rivets and hinges. With a flat brush moistened with thinner, draw the dots downward in light vertical strokes to replicate grime and rust dragged down by rainwater.
5. Weathering Pigments: Dust, Mud, and Soot
MIG AMMO modeling pigments are ultra-fine mineral powders that deliver a hyper-realistic, ultra-matte texture:
| Desired Effect | Recommended Pigment Shade | Application Technique |
|---|---|---|
| Desert dust / Dry dirt | Light sand, desert earth | Dry-brushed directly onto lower hulls and wheel rims |
| Wet mud / Soil | Dark earth, burnt umber (or Mud & Splashes effects) | Mixed with pigment fixer and a drop of gloss varnish |
| Exhaust and gun soot | Carbon black, dark soot | Dry-dusted in smooth gradients around exhaust nozzles and barrels |
| Fresh or old rust | Light rust, dark rust | Stippled onto mufflers, tracks, and tow cables |
6. Final Sealing: Matte Coat Protection
Once all weathering effects are fully dried and blended:
- Apply a final mist coat of matte clear varnish from our scale model paints department.
- This seals fragile pigments against handling, eliminates unwanted shine, and binds all finishes together harmoniously.
- For aircraft canopies and vehicle headlights, preserve clear glass parts using clear model adhesives and our precision modeling tools.
Expert Complement: Detailing with Photo-Etch and Resin
Before applying washes and weathering, adding aftermarket detail parts elevates a model to museum standard. Explore the complete guide on cutting, bending, and gluing photo-etched brass and resin parts published on NextModelKit, as well as their vast catalog of resin and photo-etched detail sets and plastic scale model kits.
Conclusion: Subtlety is Key
The secret of convincing weathering is restraint. Building up subtle, layered effects gradually will always look more authentic than over-weathering in a single pass. With these core techniques, every scale model you complete will become a true, lifelike museum piece!
